
Striking
Distance management and cage positioning
Range changes with reach, stance and footwork. Near a cage, the space behind you can disappear before the other fighter reaches punching range.
The diagrams explain positions and decisions. Independent coach review is pending. Practise contact entries and finishes on mats with a qualified coach.
On this page
Illustrated checkpoints
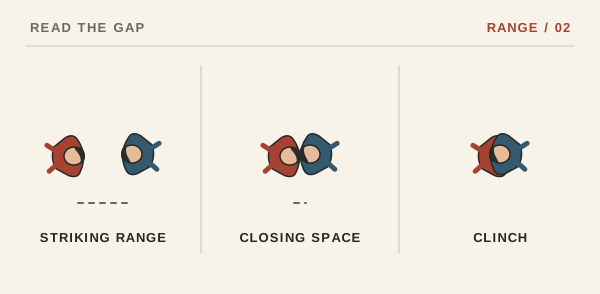
- Kick range. Test a light kick against a held shield.
- Punch range. Step closer until a straight punch reaches without leaning.
- Clinch range. Move close enough to meet the partner's arms while standing upright.
Three distances you can test
A partner can hold a kick shield still while you step to a distance where a light round kick reaches it. Move closer and compare the distance for a straight punch. Step closer again until you could make forearm contact without leaning. Treat these as moving bands rather than fixed measurements. A forward step can cross two of them.
Spot the fence before it stops you
Make a short line on a mat with coach-approved tape. Start a few steps inside it and face a partner who walks forward without striking. Find a side route before your rear foot reaches the line. If your partner closes that lane, reset and try the opposite angle. The useful detail is when you noticed the boundary.
What breaks the drill
Backing straight up until the heels meet the line leaves no next step. Crossing the feet to hurry the exit makes it harder to change direction. Tighten the space only once both partners can walk through it comfortably. Never run someone into a wall or use an unpadded wall for contact.