
Ground fighting
Escapes, sweeps and recovering guard
An escape takes you out of a bad position. A sweep takes you from guard to the top. Moving from bottom mount to half guard can be a successful escape even though the same athlete remains on top.
The diagrams explain positions and decisions. Independent coach review is pending. Practise contact entries and finishes on mats with a qualified coach.
On this page
Illustrated checkpoints
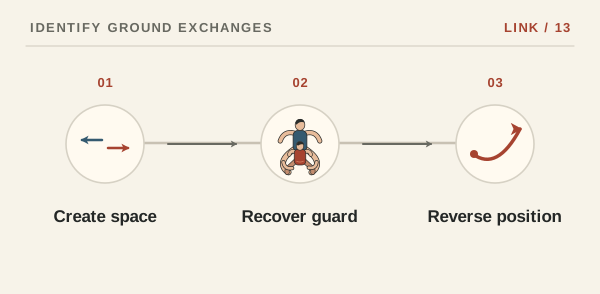
- Escape. Recover inside space against a pin.
- Guard. Connect the legs and identify the opponent's available posts.
- Sweep. Reverse on top and prove you can balance before moving on.
Make one small amount of room useful
From beneath mount, a coach may show an elbow-to-knee escape. Keep the elbow close, turn enough to move the hips and bring a knee between the bodies when there is space. From side control, a bent forearm placed against the shoulder or hip can preserve space for the hips to move. Pushing at the throat or bench-pressing the partner with straight arms creates a new problem.
A sweep needs a missing post
A post is a hand, knee or foot which can stop the top partner tipping over. In a cooperative sweep drill, let the coach show the partner where to place a hand. Try a small, supported shift each way to understand which side still has a base. An available hand or a wide knee can defeat the same motion that worked a moment earlier.
Give both partners a job
Start from a fixed pin and stop when the bottom partner recovers a knee. In a separate rep start from guard and stop only once the new top player balances. Allow increasing resistance in one direction at a time. No striking, neck bridging or falling body weight in this exercise.